ge oven manual self clean
GE Oven Manual: Self-Clean – A Comprehensive Guide
Discover a streamlined approach to oven maintenance! This manual details GE’s self-clean function, offering effortless cleaning, extending oven life, and ensuring optimal performance.
Understanding Your GE Oven’s Self-Clean Feature
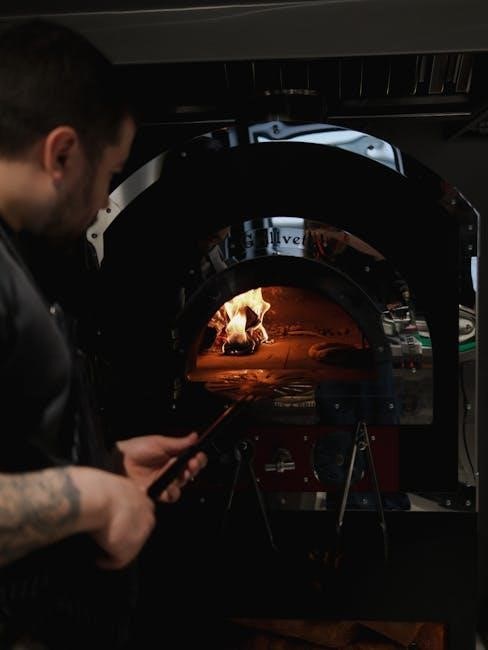
GE ovens boast a convenient self-clean function, utilizing extremely high temperatures – exceeding 880°F – to incinerate baked-on food residue into a light ash. This process eliminates the need for harsh chemical cleaners and strenuous scrubbing. The duration of the self-clean cycle varies, typically offering ‘Light’, ‘Medium’, and ‘Heavy’ options to accommodate different levels of soiling.
During operation, the oven door automatically locks for safety, and the interior reaches intense heat. It’s crucial to understand this feature’s mechanics for effective use and to address potential issues, especially with GE Profile models which may have unique considerations.
Benefits of Using the Self-Clean Function
The self-clean function offers significant advantages, primarily eliminating the laborious task of manual oven cleaning. By incinerating food spills and grease, it avoids the need for abrasive cleaners and extensive scrubbing, saving valuable time and effort. This feature extends the life of your GE oven by preventing buildup that can affect performance.
Furthermore, it’s a safer alternative to harsh chemicals, reducing exposure to potentially harmful substances. Maintaining a clean oven also promotes more efficient cooking and prevents unpleasant odors, ensuring a pleasant kitchen environment.

Preparing Your GE Oven for Self-Cleaning
Proper preparation is key! Remove racks, wipe spills, and ensure adequate ventilation before initiating the self-clean cycle for optimal results.
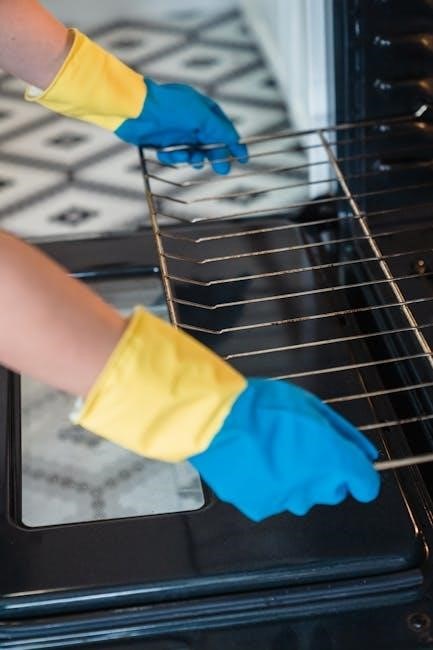
Removing Oven Racks and Accessories
Before starting the self-clean cycle, it’s crucial to remove all oven racks and any accessories like baking stones, broiler pans, or temperature probes. These items can become discolored or damaged during the high-heat cleaning process. Refer to your GE oven’s owner’s manual for specific rack removal instructions, as designs can vary.
Typically, racks slide out easily, but some models may require a slight lift and pull. Ensure the oven is cool before handling the racks. Removing these items allows the heat to circulate freely, maximizing the self-clean function’s effectiveness and preventing potential issues.
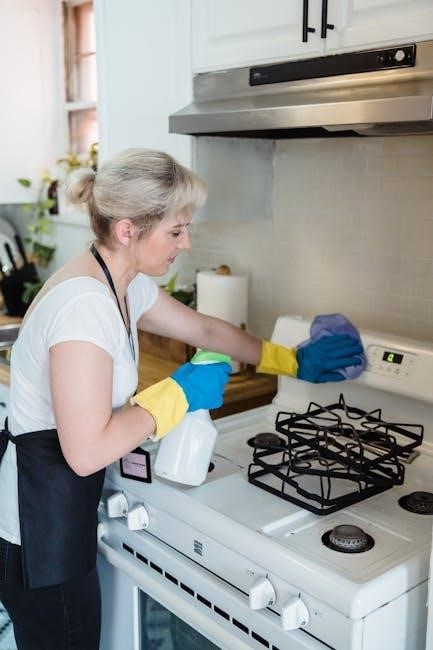
Wiping Up Loose Debris and Spills
Prior to initiating the self-clean cycle, manually wipe up any large spills, loose debris, or food particles from the oven’s interior. While the self-clean function is designed to handle baked-on residue, removing substantial messes beforehand minimizes smoke and odors during the process. A damp cloth or sponge works effectively for this preliminary cleaning step.
Focus on the oven floor and walls, paying attention to areas where spills commonly occur. This simple preparation ensures a more efficient and pleasant self-cleaning experience, contributing to a cleaner oven and a fresher kitchen environment.
Ensuring Proper Ventilation
Adequate ventilation is crucial during the self-clean cycle due to the high temperatures and potential for temporary fumes; Open windows in the kitchen or turn on the exhaust fan to facilitate airflow. This helps dissipate any odors that may arise during the cleaning process, ensuring a comfortable environment.
While GE ovens are designed with safety in mind, proper ventilation minimizes any potential discomfort. Consider the proximity of smoke detectors and ensure they won’t be unnecessarily triggered by the cleaning cycle; A well-ventilated kitchen contributes to a safer and more effective self-cleaning experience.
Activating the Self-Clean Cycle
Initiate the self-clean with ease! Locate the dedicated button or option on your GE oven’s control panel to begin the automated cleaning process.
Locating the Self-Clean Button/Option
Finding the self-clean activation point is crucial for initiating the cycle. On most GE ovens, the Self-Clean button is prominently displayed on the control panel, often labeled clearly for easy identification. However, the exact location can vary depending on your specific model. Some ovens feature a dedicated “Self-Clean” button, while others integrate the function within a menu system.
If you don’t see a dedicated button, navigate through the oven’s settings using the control knobs or touchscreen. Look for options like “Oven Features,” “Cleaning,” or “Self-Clean.” Refer to your oven’s owner’s manual for precise instructions tailored to your model. The manual will provide a visual guide and step-by-step directions to locate and activate the self-clean function efficiently.
Selecting the Cleaning Duration (Light, Medium, Heavy)
GE ovens often offer varying self-clean cycle durations to match your oven’s soil level. These options – Light, Medium, and Heavy – determine the cycle’s length and intensity. A “Light Clean” is suitable for minor spills and routine maintenance, typically lasting around two to three hours. “Medium Clean” addresses moderate buildup, extending the cycle to three to four hours.
For heavily soiled ovens with baked-on residue, select “Heavy Clean,” which can run for four to five hours. Consider the degree of cleaning needed; longer cycles consume more energy. Always consult your owner’s manual for recommended durations based on your oven model and the extent of the mess.
Locking the Control Panel During Cleaning
A crucial safety feature during the self-clean cycle is the automatic control panel lock. GE ovens are designed to lock the control panel once the self-clean cycle initiates, preventing accidental interruption or changes to the settings. This lock remains active throughout the high-temperature cleaning process and while the oven cools down.
Attempting to operate the controls during this time is generally disabled. The lock disengages automatically when the oven reaches a safe temperature. This feature ensures the cycle completes uninterrupted, maximizing cleaning effectiveness and maintaining user safety throughout the process.

Safety Precautions During Self-Cleaning
Prioritize safety! Keep children and pets away, avoid fumes, and understand the extremely high temperatures generated during the self-clean cycle for a secure experience.
Avoiding Fumes and Odors
The self-clean cycle can produce noticeable fumes and odors as food residue burns off at high temperatures. Adequate ventilation is crucial; open windows or use a range hood to dissipate these smells effectively. While generally harmless, these odors can be irritating to some individuals, particularly those with respiratory sensitivities.
Avoid remaining in the kitchen for extended periods during the cleaning process. If strong odors persist after the cycle completes and the oven has cooled, thoroughly ventilate the area. Remember, a small amount of smoke is normal, but excessive smoke indicates a potential issue requiring attention.
Keeping Children and Pets Away
The self-clean cycle generates extremely high temperatures, posing a significant burn risk. Strictly supervise children and pets during and immediately after the cycle’s operation. Ensure they maintain a safe distance from the oven to prevent accidental contact with the hot surfaces, including the door and surrounding areas.
Activate the control panel lock feature to prevent unintended operation or interruption of the cleaning process. Clearly communicate the danger to all household members. A locked oven and attentive supervision are essential for a safe self-cleaning experience, protecting both children and beloved pets.
Understanding the High Temperatures
The self-clean cycle reaches temperatures exceeding 880°F (470°C) to effectively burn off food residue. This intense heat is crucial for the cleaning process, but presents a serious safety hazard. Avoid touching the oven’s interior or exterior during and immediately following the cycle.
Be aware that the surrounding countertops and flooring may also become warm. Allow sufficient cooling time before attempting any post-cleaning tasks. Understanding these extreme temperatures is vital for preventing burns and ensuring a safe self-cleaning experience with your GE oven.
Troubleshooting Common Self-Clean Issues
Resolve typical self-clean problems quickly! This section addresses issues like cycle start failures, error codes, and excessive smoke, ensuring a smooth cleaning process.
Oven Won’t Start Self-Clean Cycle
If your GE oven refuses to initiate the self-clean cycle, several factors could be at play. First, confirm the door is completely latched; the oven won’t start without secure locking. Ensure no error codes are displayed, as these indicate specific problems needing attention.
Double-check that you’ve removed racks and accessories as instructed. Sometimes, a simple reset of the oven’s power – by turning off the breaker for a few minutes – can resolve the issue. If problems persist, consult the owner’s manual for further troubleshooting steps or consider scheduling a repair appointment with a qualified technician like Bodewell.
Error Codes During Self-Clean
Encountering error codes during the self-clean cycle signals a specific issue requiring investigation. These codes are the oven’s way of communicating a problem, ranging from temperature sensor malfunctions to door lock failures. Refer to your GE oven’s owner’s manual; it contains a comprehensive list of error codes and their corresponding solutions.

Common fixes include resetting the oven’s power or attempting the self-clean cycle again after ensuring proper preparation. If the error persists, documenting the code and contacting a qualified appliance repair technician is crucial for accurate diagnosis and repair.
Excessive Smoke During Self-Clean
While some smoke is normal during the self-clean cycle, excessive smoke indicates a potential problem. This often stems from accumulated grease and food debris that hasn’t been adequately removed before initiating the cycle. Ensure thorough cleaning of loose debris and spills beforehand.
If heavy smoking continues, immediately stop the cycle and allow the oven to cool. Check for any remaining large food particles. If the issue persists after repeated attempts and proper preparation, professional service may be required to inspect the oven’s components.
Post-Cleaning Care and Maintenance
After the cycle completes, allow for complete cooling before wiping away ash residue and carefully inspecting oven seals for optimal longevity.
Allowing the Oven to Cool Completely
Prioritize safety by ensuring the oven is completely cool before attempting any post-cleaning procedures. The self-clean cycle generates extremely high temperatures, and handling a warm oven can cause burns. Resist the urge to open the oven door prematurely; allow ample time for it to return to room temperature.
This cooling period is crucial for preventing damage to the oven’s components and ensuring your safety. It also allows any remaining ash residue to settle, making it easier to wipe away. Patience during this step will contribute to a more effective and safe cleaning process.
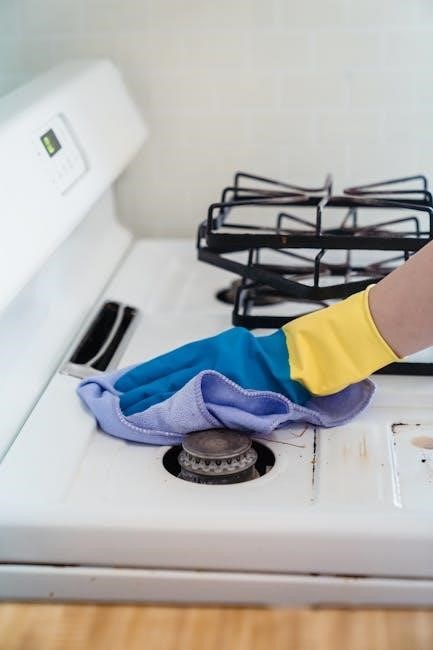
Wiping Away Ash Residue
Once the oven has cooled completely, a fine layer of ash residue will likely remain. Use a damp cloth or sponge to gently wipe away this residue from all interior surfaces – the oven floor, walls, door, and any racks that were left inside (if your model allows).
Avoid abrasive cleaners or scouring pads, as these can damage the oven’s finish. A mild dish soap solution can be used for stubborn spots, but ensure it’s thoroughly rinsed away. This final step restores the oven’s shine and prepares it for your next culinary creation.
Inspecting Oven Seals and Components
After each self-clean cycle, carefully inspect the oven door seals for any signs of damage or wear. These seals are crucial for maintaining consistent oven temperatures and preventing heat loss. Check for cracks, brittleness, or gaps.
Also, visually examine the oven’s interior components, such as the heating elements and the convection fan (if applicable), for any visible damage. Addressing minor issues promptly can prevent more significant problems and ensure continued safe and efficient oven operation.
Self-Clean for GE Profile Ovens – Specific Considerations
GE Profile ovens may have unique self-clean options; professional assistance might be needed for complex issues, ensuring optimal cleaning and performance.
Differences in Self-Clean Options
GE Profile ovens often present a more nuanced self-clean experience compared to standard GE models. While the core principle remains the same – high-temperature cleaning to incinerate food residue – the available options and functionalities can vary significantly. Some Profile models feature different cleaning durations, offering ‘Light,’ ‘Medium,’ and ‘Heavy’ cycles tailored to the level of soiling.
Furthermore, certain Profile ovens incorporate steam-clean options as a supplementary or alternative cleaning method, ideal for lighter messes. It’s crucial to consult your specific GE Profile oven’s manual to understand the precise self-clean options available and their recommended usage. Understanding these distinctions ensures you select the most appropriate cleaning cycle for your needs, maximizing efficiency and preserving your oven’s condition.
Potential Issues and Solutions
Occasionally, GE Profile ovens may encounter issues during the self-clean cycle. A common problem is the cycle failing to initiate, often resolved by verifying the door is fully latched and the control panel is unlocked. Excessive smoke can occur with heavy soiling; ensuring loose debris is wiped up beforehand minimizes this.
Error codes displayed during cleaning require referencing the owner’s manual for specific interpretations and troubleshooting steps. If issues persist despite these efforts, restarting the cycle may help. However, if problems continue, scheduling a repair appointment with a qualified technician like Bodewell is recommended to diagnose and address underlying mechanical or electrical concerns effectively.
When to Seek Professional Help
Despite diligent troubleshooting, certain self-clean issues necessitate professional intervention. If error codes persist after consulting the owner’s manual, or if the oven fails to reach self-clean temperatures, a technician is crucial. Recurring smoke issues, even after pre-cleaning, indicate a potential mechanical fault.
Furthermore, any unusual noises or smells during the cycle warrant immediate attention. Don’t attempt complex repairs yourself; instead, schedule a repair appointment with qualified technicians. They possess the expertise to diagnose and resolve intricate problems safely and effectively, ensuring your GE Profile oven’s longevity and optimal performance.

Repair Service and Professional Assistance
For unresolved self-clean issues, schedule a repair with Bodewell or a qualified technician. Consult your owner’s manual for guidance and resources.
Scheduling a Repair Appointment
If self-cleaning problems persist after troubleshooting, promptly schedule a repair appointment. Bodewell offers convenient service options for GE oven repairs, ensuring qualified technicians address the issue. Before scheduling, document the error codes or specific problems encountered during the self-clean cycle. This information aids the technician in accurate diagnosis and efficient repair.
Many local appliance repair companies also service GE ovens; verify their credentials and read customer reviews. When booking, inquire about estimated costs and the technician’s experience with GE self-clean features. A successful repair restores oven functionality and ensures safe operation.
Resources for Finding Qualified Technicians
Locating a skilled technician is crucial for GE oven self-clean issues. AppliancePartsPros.com provides a directory of certified repair professionals, alongside helpful diagnostic guides. GE’s official website often lists authorized service centers in your area, guaranteeing genuine parts and expertise.
Additionally, consider platforms like HomeAdvisor or Angie’s List, offering verified technician profiles and customer reviews. When selecting a technician, prioritize experience with GE appliances and self-clean functionality. Confirm their licensing and insurance for peace of mind, ensuring a reliable and professional repair service.
Checking the Owner’s Manual for Further Guidance
Your GE oven’s owner’s manual is a vital resource for self-clean troubleshooting. It contains model-specific instructions, error code explanations, and detailed safety precautions. Refer to the manual before attempting any repairs or contacting service.
The manual outlines proper preparation steps, cleaning duration options, and potential issues unique to your oven. It may also offer solutions for common problems like excessive smoke or cycle failures. Don’t overlook this readily available information – it’s often the quickest path to resolving self-clean concerns effectively.